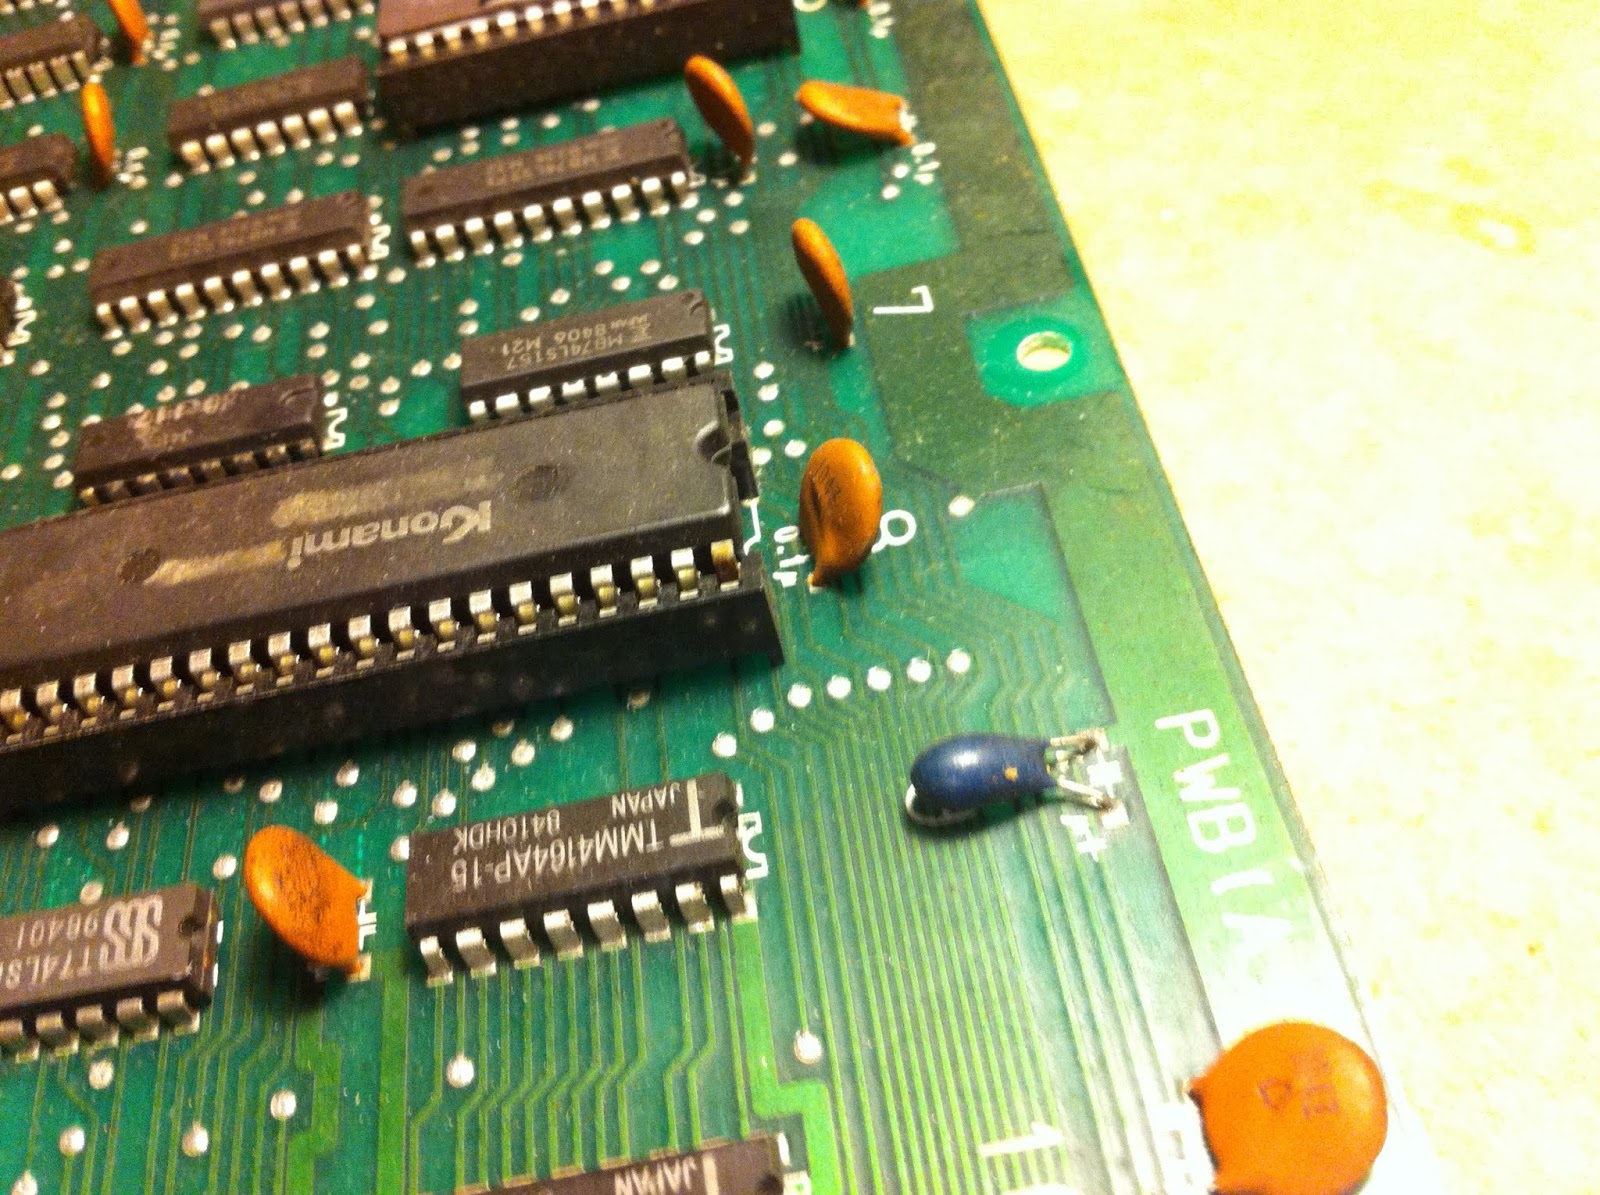
As part of a bigger deal with user darkvonwaterfall on
spille-maskiner.dk, I was to repair his original
Konami Circus Charlie for him. The initial description was, that it didn't boot but only displayed a black screen and that some of the IC's had pins that were broken off. I tried connecting the board using the Konami adaptor, that he'd included, only to confirm, that the screen was indeed black, and the speaker was dead silent. Let the magic commence! };-P
So as always, I started off with visual inspection:
and a lot of the sockected ICs (8 or 9 of them including the main CPU) had rot (corrosion) on the pins.
This can however easily be removed by scraping the infected areas with a Stanley knife, gently rubbing it with Steel Wool, or both.
Next I started checking and dumping the ROMs on the board. And on 3 or 4 of them, pins were missing.
Luckily, it's fairly easy to patch another pin (taken from a scraped IC) on to it, as long as there's still a fair amount of pin left };-P
Many of the ROMs wouldn't be read in the EPROM programmer at first, but then one have to remember, that the ZIF-socket of the programmer only grabs on to the sides of the pins. So if the pins are rotten, it's important also to clean the sides as well. So when I'd cleaned the sides of the pins, all but one could be read and verified against MAME. It was one of the 2 EPROMs in the sound section that seemed to be knackered, so burned a new one and smacked it into the socket.
I now tried to connect the board again to see if there was any change, but still black screen and sound.
Next step was to start measuring on the poor board to see what might be wrong. However, after having the board connected for just a minute or so, a smell of fried electronics started to emerge. I quickly found, that the AMP was burning up; almost gave me blisters when I touched the heat sink.
I turned the sub PCB around and found that the soldering for the AMP and the sound pot didn't look so good.
So desoldered both components for now so no further harm would be done and to move onwards with waking up this game.
Armed with the schematics for the game and my scope, I started with the CPU. This game (as well as a number of other Konami games from this period) has a custom CPU called Konami-1. It's basically a Motorola6809, but with scrambled opcodes and a different pinout. However with the schematics in hand, it was pretty easy to find the different control pins as well as the address and data bus.
The CLOCK signal was fine, but the RESET pin was pulsating, indicating that the watchdog was barking. Looked at the data pins and they all to had some activity within the watchdog cycle. But when checking the address lines I found that the most significant bit of the address bus was stone dead, not even jumping just a little bit when power was applied; all the others did. This is pin 42 on the CPU and besides being a normal address bit for the program ROMs, it also takes part in controlling the CS (chip select) signals for the 2 scratch RAMs (indicated in red in the pic below).
I tried peeking the CS of the 2 scratch-RAMs, and one of them (the one on the left) was never selected as I suspected from the schematics and the dead pin 42 on the CPU.
As part of the bigger deal, dorkvonwaterfall also gave me a defective bootleg of the same game for free, so I decided to have a closer look at that PCB; it might be in better condition than the original and might give me some pointers.
The boards actually look very similar
(original on the left; bootleg on the right)
The bootleg is missing the custom ICs but has an extra strip of PCB at the bottom containing circuitry to make up for that. Here's a close up of the right side of the strip containing the standard Motorola6809.
Besides that, the two boards are almost identical.
After having done a quick visual inspection and dumped all the ROMs and checked them against MAME (they were all good), I discovered that the ROM set is identical to one of the original sets. That actually means, that the bootleg board is able to unscramble the opcodes on-the-fly at runtime, instead of, as I initially thought, using a ROM set with unscrambled opcodes.
I hooked the bootleg up to my test rig and got a flashing screen, then this
for about half a second. Then reset and the same over again...the watch dog was barking here as well. Even though the self test clearly indicated, that all program ROMs and RAM was ok, I had a hunch, that it might be a problem with one of the 2 scratch-RAMs. When peeking with the scope everything looked fine... hmmm. I tried piggy-backing a known good on one of the RAMs
and BAM!
the game started up };-P I desoldered the RAM and tested it in the TOP2005+, but it came out good. I then fitted a socket and smacked the original RAM into it; watch dogging again. The game ran flawlessly with the other RAM IC; even the sound was perfect...
Without being 100% certain, I'm pretty sure, that the original RAM might have a timing issue, and that's why it passes the off board test in the TOP (and boards self-test), but doesn't actually work correctly runtime. I now had a fully working board (almost) identical to the original I was to repair. This is usually the best situation you can have when doing a repair, ever };-P
Now on the bootleg all the wires from the Konami-1 mash-up on the extra PCB-strip is still connected to the original points where the CPU sits on the original. So it was pretty simple to compare measurements between the two. And as I suspected, pin 42 on the bootleg was very active at all times. So either the Konami-1 CPU was toasted, or something downstream was pulling the line down. So following the schematics, I tried removing the only IC that connected directly to pin 42 (a 74244), but the line remained stone dead }:-S. I did, however, have one small hope left: On some rare occations, a pin can snap just inside the IC casing. So with a little luck you're able to carve a bit of the casing away, and solder a wire on to a piece of lead that still connects to the actual sillicon circuit inside. So I placed the CPU in a socket on a board from the scrap pile and started carving using a file.
But alas! After having reached the metal, there was no visual signs of breaks
and when peeking with the scope, the line was still stone-dead. So basicly to fix his game, I would have to somehow get hold a replacement for the dead Konami-1 custom CPU.
So I send out cries for help on the different arcade forums I usually visit, and got an answer };-P The user Soren (Søren) from
spille-maskiner.dk (and now friend of mine through
chassisarcade.dk; he more or less keeps their pinballs up'n'running and also, like me, hang out there
wednesday nights) wrote to me, that he had an original defective
Hyper Sports, that he would kindly let me borrow; jawsome! Luckily this board also had the Konami-1 socketed, so I didn't even have to do any desoldering.
I slammed the CPU into the original Circus Charlie and now had an active pin 42 };-P However, the game was still watch dogging, was dead silent and had a black screen; but at least it was some progress...
Now as the game suffered from a lot of corrosion on the socketed ICs, these were my first suspects. So I started checking each of them with the continuity tester by measuring between the IC pins and the pins of the socket on the solderside of the PCB. Starting with this custom IC in the final stage of the graphics section
I found 3 pins unconnected. After giving both IC and socket another treatment with Stanley knife and steel wool (I REALLY want a fiber glass brush for X-mas this year), all the pins made connection again. I connected power, and now got a screen flipping between the following two images:
ROM3 also had 2 pins not making proper connection and was given the same treatment as the custom IC. Aaaaaand....
OOOOH JOOOOY! };-P Everything worked perfectly, except for the sound, of cause; as I'd removed the AMP and the volume pot. The AMP is an
LA4461, and I only had some new LA4460 (the mirrored version) stocked. But as it's fitted with a heat sink on the PCB, the mirrored version wouldn't fit properly. The bootleg, however, didn't have a heat sink, so snatched the one from there, and fitted the bootleg with the LA4460 };-P
And lo and behold; after fitting the volume pot again as well, it brought back the sound!
The only thing keeping me from closing this case now, was to find a working Konami-1. I actually started a project of trying to reverse engineer the bootleg mash-up and make a daugther board, that could be used as a replacement, but found it too time consuming for now. So after some time, I stumbled upon a cheap defective
Roc'n Rope on evilBay and decided to buy it. When I inserted this CPU, the game started to watch dog again... had I bought a defective CPU? }:-S But I discovered, that the CPU socket was actually in pretty bad shape, due to the corrosion, so I replaced it with machined pin header strips.
And finally the game was in perfect condition and ready to be returned to it's rightful owner };-P
So now that the board is getting send back, is Elgen giving up on the Konami-1 mash-up, as he will not be able to test it, you might think? Weeeell, not quite. Because I actually discovered, that if I fitted a socket on the bootleg where the Konami-1 was suppose to sit, and removed the 6809 as well as 2 socketed PALs, I could insert a Konami-1, and the game would run quite happily.
So I just might pick up this exciting task again, some time in the future };-P