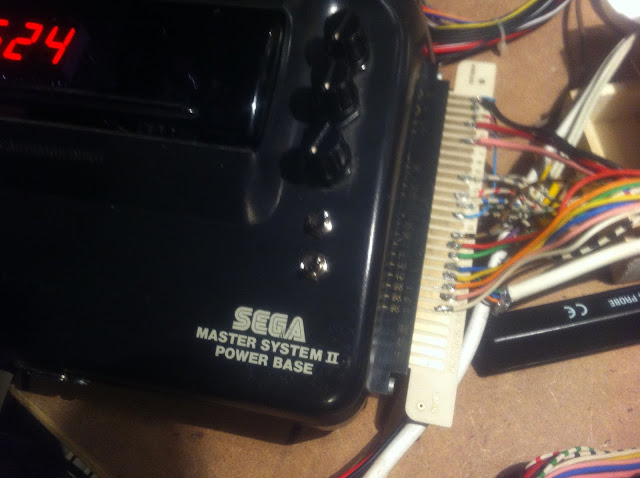
I snapped up this defective bootleg Ghost 'n Goblins along with some other defectives very cheap at a danish forum about a year ago. Up until now, it had just been sitting on the shelf; not even tested. It had adaptor wires soldered directly onto the edge connector.
As mentioned before I believe, that people who does these kind of things, will burn in a special level of Hell; the one they reserve for child molesters and people who talk at the theatre... The Special Hell! }:-(
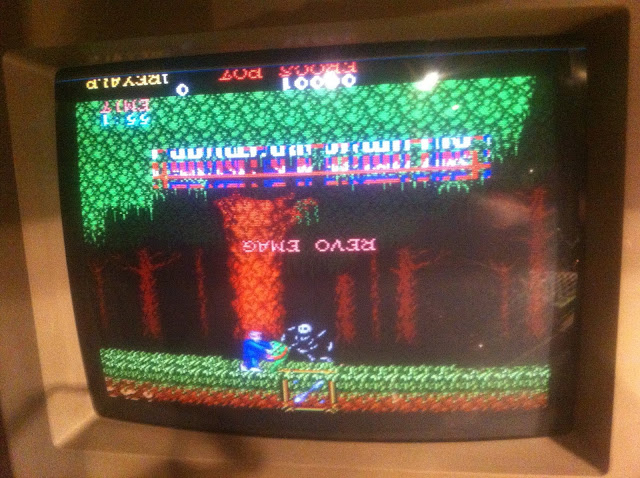
Well, anyway... the fingerboard soldered to the other end of the wires wasn't JAMMA, so I made a QAD adaptor with a JAMMA fingerboard connecting only the power and video connections. The game booted, and I was greeted with the attract mode:
The backgrounds and sprites were perfect, but the layer displaying characters and the game logo was pretty messed up and the game was dead silent. The silence could, however, just be due to a dip switch setting turning off attract sound.
I did the usual visual inspection, but as nothing obvious was to find, I started doing (what I sometimes refer to as) "Playing the game of peeking and poking around". For this, I use either my scope, logic probe or both. The purpose of this, is to give me a rough idea of where the different elements of the game are generated. I usually start with the ROMs and RAMs trying to short adjacent data and address lines with the probe to see what that stirs up in the game. Also I peek a bit at the data and address signals. This time I started with the logic probe and quickly found that this ROM
and this RAM
both at the primary PCB (also containing the primary CPU, program-ROMs and the entire sound system) were definitely involved in making the character layer.
Next I went over all the data and address signal lines of the two with the scope, but didn't find anything unusual. But then these two these two guys
sort of in the middle of the ROM and RAM caugth my attention. Why just them you might ask? Well because they are Fujitsus, and Fujitsu TTLs from around the 80'es, just have a tendency to go bad at the moment. So they are all Usual Suspects when repairing PCBs from that period. In general this board is peppered with Fujitsu TTLs, but these sort of sat there in the middle of this cluster of non-Fujitsus and happen to be in the same area as the RAM and ROM. The 74LS86s are packs of 4 XOR gates. So again I tried to short some of the signal pins and found, and when I shorted pin 8 and 9 on the right of the twins
the character layer changed to this
Hmmm, all the letters displayed correctly, but upside-down. Then tried flipping the dip switch to flip the picture
and when shortening the 2 pins again got this
Perfect character layer. Ha! Haaaaa! Surely on to something now };-P I peeked the inputs and the output of that gate
and found one of the inputs floating. I traced the input to the output at pin 8 on the left Fujitsu 74LS86. I salvaged a 86 from a scrap board, piggybacked it on the left one
So out it went.
In my eager I accidently pulled out a via with it, but luckily it isn't connected to anything on the component side, so no worries. A socket was fitted and the salvaged 86 installed.
So now the graphics was a'okay... time to clean up that edge-connector-mess! With a combo of soldering iron, desoldering iron, solder wig, a whole lotta patience, and a final rub with rubbing alcohol
it actually ended up looking pretty okay in the end. I attached my full Capcom Classic adaptor and booted her up; but alas, no sound. So I dug up my external amp. It's actually just an old PC-speaker, where I've cut the jack plug and attached a crocodile clip for GND and an old multimeter probe for signal (actually it also good for listening on signal lines as well). Anyway, I heard sound from the speaker
Followed the sound to the fingerboard and found, that this was again a game that uses SPK- for signal and SKP+ for GND. As my SuperGun uses SPK+ for signal, that was why I didn't get any sound. So I finally pulled myself together, and installed a switch to flip the polarity of the sound in my SuperGun.
...better late that never, right };-P This closes the case...
Plz take care all you lovely people out there!
<3 Whole Lotta Love <3
};-P Elgen


