
My dear friend (and also active user on many UK and Danish forums) Muerto asked me to have a look at his original Namco/Bally Midway Galaga. When he bought it years ago, he tested it and found that some of the sprites were displayed twice on screen. So it was put on a shelf and have been sitting there just waiting for someone to have a go at trying to repair it. When it arrived on my bench, it looked like this

The board doesn't have video connections at the edge connector; they must be drawn from a molex on the video board

I didn't have a plug to fit this molex, so I cheated a bit, and soldered 4 wires (R, G, B, and sync) directly onto the solderside of the board along with the other wires from the edge connector. I fired it up, and got this

A solid yellow-ish screen and no sound at all };-( So I started examining the main CPU (this board has 3 x Z80 CPUs) for CLOCK signal


Hmmm, looks nice and healthy. Next up was the RESET signal


The signal jumped low about 2 or 3 times a second... the watch dog was barking ever so loudly! At this point, it's always good to check the ROMs, so you can rule out any software error from the equation; So be it!

They all seemed to be in good shape and verified nicely against MAME. It was then I started to have a closer look at the custom ICs on this board


All of them, with no exception, had extremely corroded pins! And when trying to gently free the poor customs from their sockets (with my trusty flathead screwdriver), some of them lost a pin or two due to the extensive amount of corrosion


(the last two photos above are taken AFTER I've cleaned the ICs from the corrosion)
The first two ICs, I cleaned as I usually do by scraping the corrosion off using a Stanley knife. Next I patched new pins (taken from scrapped ICs) on where they had broken off and then gave all the pins a thin layer of solder.

Ready to be plugged into the socket again! };-P Now the Stanley knife-method works well, but for 10+ ICs it becomes quite cumbersome. So after the two first customs it suddenly struck me! I remembered, that my lovely Dremel (How can any man live without one? Still think that every boy should be given one at birth: Congrats Daddy, it's a healthy boy, and here's his Dremel; please keep it safe until he's old enough to use it!) actually come with a steel brush, that I didn't have had the opportunity to use yet. So fitted the brush and tried carefully and at the slowest possible speed

The result was simply fan-frakking-tastic! };-P

And each pin only took about 2-3 seconds to clean! };-O So I spend an evening cleaning ICs and patching up broken pins on the main board. With one of the ICs a broken piece of pin actually got jammed in the socket

So I had to desolder the socket

and fit a new one

When I was finished with cleaning ICs on the main board, I decided to try and hook it up in the test rig again. However, in the meantime I had gotten hold of a cheap original defective Namco/Bally Midway Pac-Land with an adaptor for some obscure standard that I haven't seen before

(properly some Belgian standard, as the seller (eBay) was from Belgium).
Now Pac-Land and Galaga uses the same pinout, and in particular the same molex for video, so I desoldered the obscure finger board, and fitted a JAMMA one.

And when I flipped the switch, there was movement on the screen... the board self test. And after the test completed, the attract mode started playing with sound and all

Now this was progress for sure! However, the screen was kind of purple-ish (doesn't show that well on the photos because of the quality of my iPhone camera and the quality of me as a photographer) and the "kidnappers" (the ones the can capture your fighter) only showed up as square red dots when hovering on the top of the screen. But when they did a dive, they looked perfectly fine.

With all the customs on the video board was also corroded, I still hoped that a clean-up there might fix the problems. So yet again I spend an whole evening Dremeling, solder coating, and patching broken pins. Also had to replace a socket here due to a jammed broken pin, MOAN! };-S
And worst of all: When I fired up the board again, it hadn't changes a flying frak! Neither the purple-ish nor the broken kidnappers were looking even the slightest bit different! MOAN! MOAN! };-(
Well on the bright side, it was now time for some REAL hardware debugging instead of just doing clean-up };-P So I dug up the schematics and started scrutinizing it. As i'd already checked all the EPROMs, my first suspect was the sprite RAMs (the 8 ones on the far back of the video board)

They are 2147 1-bit SRAM in two clusters of 4 (byte wide all in all). So I started hitting them with the scope. But when I touched the data lines with the probe, weird stuff happend on screen


This can be an indication, that something is not driving the lines properly, or the values of the pull-ups might either be too high or too low. Anyway, at this point, I suspected something wrong with the sprite RAMs themselves. I didn't have any 2147 stocked, but looking at the schematics I found, that the video board may be configured in two ways: Either (as this one) with 8 x 2147 or with 2 x 2148 (4 bit SRAMs). This was actually a quite normal thing for manufactures to do back then, as the prices on SRAM were relatively high and also fluctuating. So this way they could wait until the last minute to decide on which to use, thereby keeping the cost of components at a minimum. I did actutually have 2 x 2148 SRAMs on a scrap board, so I harvested these, cleaned the solder holes

fitted sockets and the harvested 2148s, and popped out the 2147s

But alas (ear wax), when I fired up the board, the screen looked precisely the same };-/ Now it would be a very strange coincidence, if the old 8 x 2147 RAMs clustered together, should show precisely the same error on screen as the 2 x 2148. So I assumed, that sprite RAMs were ok. Hmmm, well back to reading them schematics

Also on these datalines is the Namco custom IC that generates the actual sprites by mixing the signals from the data lines placed on the far right on the picture above. However, if that was broken, I'd be frakked anyway, so I assumed, that it was ok too. The last things directly on these lines, was the 2 transceivers in the middle of the picture (marked with 2 circles). When peeking the lines on the topmost of these, I discovered, that one of them was stuck high.

The input seemed to be active, so desoldered the 298 TTL, but in my eager accidentally broke a couple of pins. However, I was determined to get it tested in the Top, so I quikly fitted some header strips as new pins. But it tested good in the Top

So fitted the pathed-up 298 again, as I was "in da zone" and just wanted to move on...

Hmmm, the signal on the input of the stuck line still looked more-or-less ok on the scope. But maybe the lows wasn't quite as low as on the other inputs?! (haven't got a picture of this, sadly). At this point, my new Logic Probe (with audio feedback) had arrived in the mail, and I decided to test it, as sometimes it can be had to see on a scope, if the signals actually reaches the logical thresholds. As one can see, the only thing connected to the inputs, are the outputs from the bipolar prom in the lower left corner of the schematics picture. So lifted the suspect pin along with one other out of the socket, and hit them with the probe. First the suspect

and then the assumed good

Now of cause, as the pins were now out of the socket, they were not pulled by the pull-ups. But as this pin was stuck HIGH (and not low), that couldn't explain what I saw. To be sure, I peeked the inputs to the PROM, and they were all active. I'd finally found a culprit! };-P However, I don't have any readers that can read/write bipolar PROMs, so what now? I then remembered, that I had a working bootleg Galaga on the shelf. So I found the corresponding place on the bootleg

and compared it to the original

It looked almost identical, and the ICs on either sides of the PROM (marked "5" on the bootleg) was the same. I googled the pinout for TBP24S10N and found it to be the same same as on the original schematics. So I slammed the bootleg PROM into the original Galaga, aaaaand... PRESTO!

The kidnappers looked normal, even when floating at the top of the screen. So I fitted a 298 harvested from a scrap board for the patched up one, to close this up nicely.

Now I was down to, that the only thing wrong with this game, was the overall purple-ish look of the screen. So I disconnected the video plug, and peeked the colour signals


From the last pictures, it was obvious that one of them was dead. Looking at the solder side, I was relieved, as I found that the trace was broken just before the solder patch (the middle one)

As the one on the rigth in the picture looked like it could snap at any time too

I patched both for good measure, and all the colours was now clear and crisp. So now the game was all good to go, PEW! };-P
Now what about the poor working bootleg that he harvested the bipolar PROM from, you might think?! Oh, well it wouldn't be Elgen, if he didn't have a crazy idea for a future project, would it? So I made some minor changes to u2pa (my own GPL sofware for the cheap Top2005+ Programmer) enabling it to read the 2 types of bipolar PROMs used on Galaga, so I would be able to test them against MAME in the future. I actually also tested the one that I used for the original, to be sure it's the same as the dump in MAME, and it is };-P I now began thinking, if I maybe could use some other programmable device that my equipment can handle in place of the PROM; even though I was now able to read the bipolar PROMs, programming them is a whole different ball game. The first thing that popped into mind, was using an EPROM, but they are far too slow; about a factor 10 slower access time than bipolar PROMs. Then I thought about using a GAL, but at this is a logical device, the PROM dump would have to fit into a truth table for it to be doable. I now contacted my dear friend porchy, who is far more experienced into the world of GALs than me. After having had a glance at the dump file and the Galaga schematics, his verdict was that it might very well be doable. Cool };-P So I made a small QAD command line tool, that generates (unreduced) equations that can be used in CUPL from a dump of a bipolar PROM; it's included in the u2pa package (if your not friendly with hg, a current snapshot of the repo can be found here, if you're interested in having a look at it). I haven't come any further at this point, as I have some other repairs queued up. But I'll definitely look into it in the future };-P
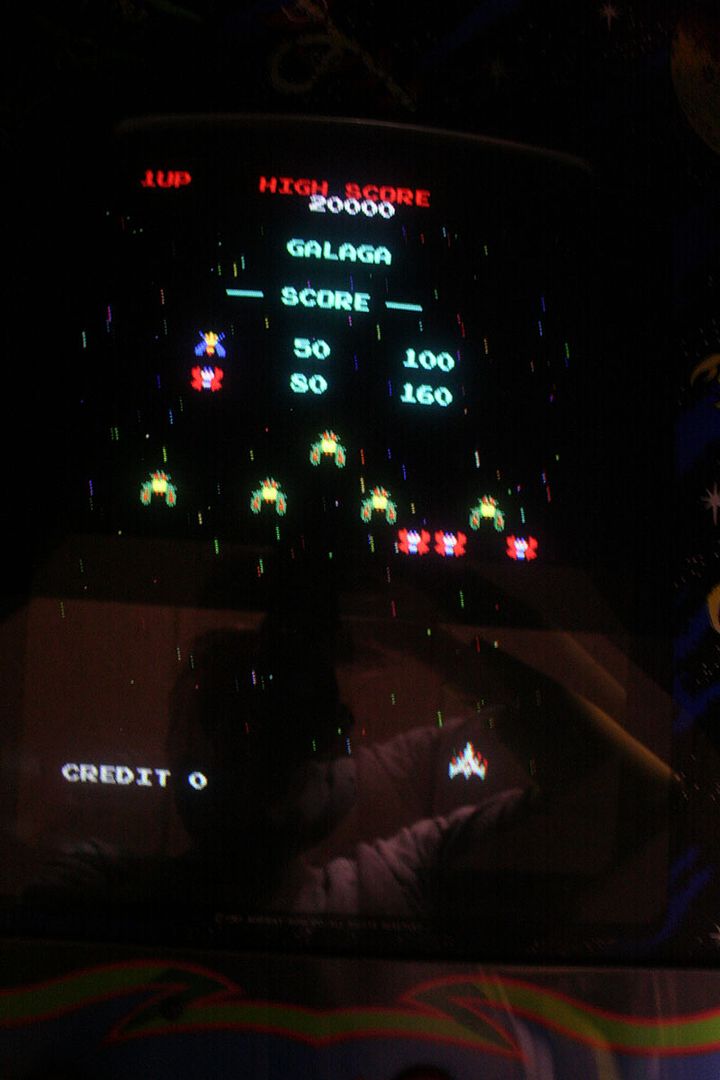
After Muerto recieved the game, he sent me these nice pictures and YouTube-links of it running in his original dedicated Bally Midway cab. Enjoy! };-P


Last but not least, Muerto was so thrilled with his Galaga now finally in working condition, that he made this totally awesome poster of me.
